Spring AC Maintenance Checklist: 7 Steps Before You Turn On Your Air Conditioner

Dusty coils. Clogged drain. Seized contactor. Every spring in Oakville, the pattern repeats. Someone flips on their AC for the first time since September, hears a grinding noise or smells something burnt, and then calls us. The follow-up question is almost always the same: “Is this something that should have been caught earlier?”
Yeah, probably.
I’m Tony Marchetti. I’ve been doing HVAC across the GTA for over twenty years now. Grew up in Woodbridge, got my TSSA certification young, and I’ve lost count of how many breakdown calls I could’ve avoided if the homeowner had spent an hour in April checking a few things. Your air conditioner sat dormant for six months through a Canadian winter. Freeze-thaw cycles, corrosion, rodent visits, algae growing in places you’d never think to look. None of that fixes itself.
This checklist covers seven steps to get your system running properly before the heat arrives. Some you can handle on a Saturday morning in your backyard. A couple need a licensed tech. I’ll tell you which is which.
Step 1: Replace the Air Filter Before You Touch Anything Else

Pull the filter before the system runs a single minute of spring cooling. I mean it. Do this first.
In most GTA homes, that filter’s been sitting since late autumn, collecting dust, pet dander, and particulate from months of sealed-up winter living. A clogged filter on startup chokes airflow immediately. Your evaporator coil works harder, refrigerant temperatures climb, and the compressor runs longer just to hit your set point. I’ve seen Goodman and Lennox units that were basically new get put through the wringer because nobody swapped a $20 filter.
Swap it for a MERV 8 to MERV 11 filter. Going higher without confirming your airflow specs can choke the system worse than the dirty filter did. Natural Resources Canada ranks filter maintenance as one of the highest-impact, lowest-cost things a homeowner can do for efficiency.
Ten minutes. Done.
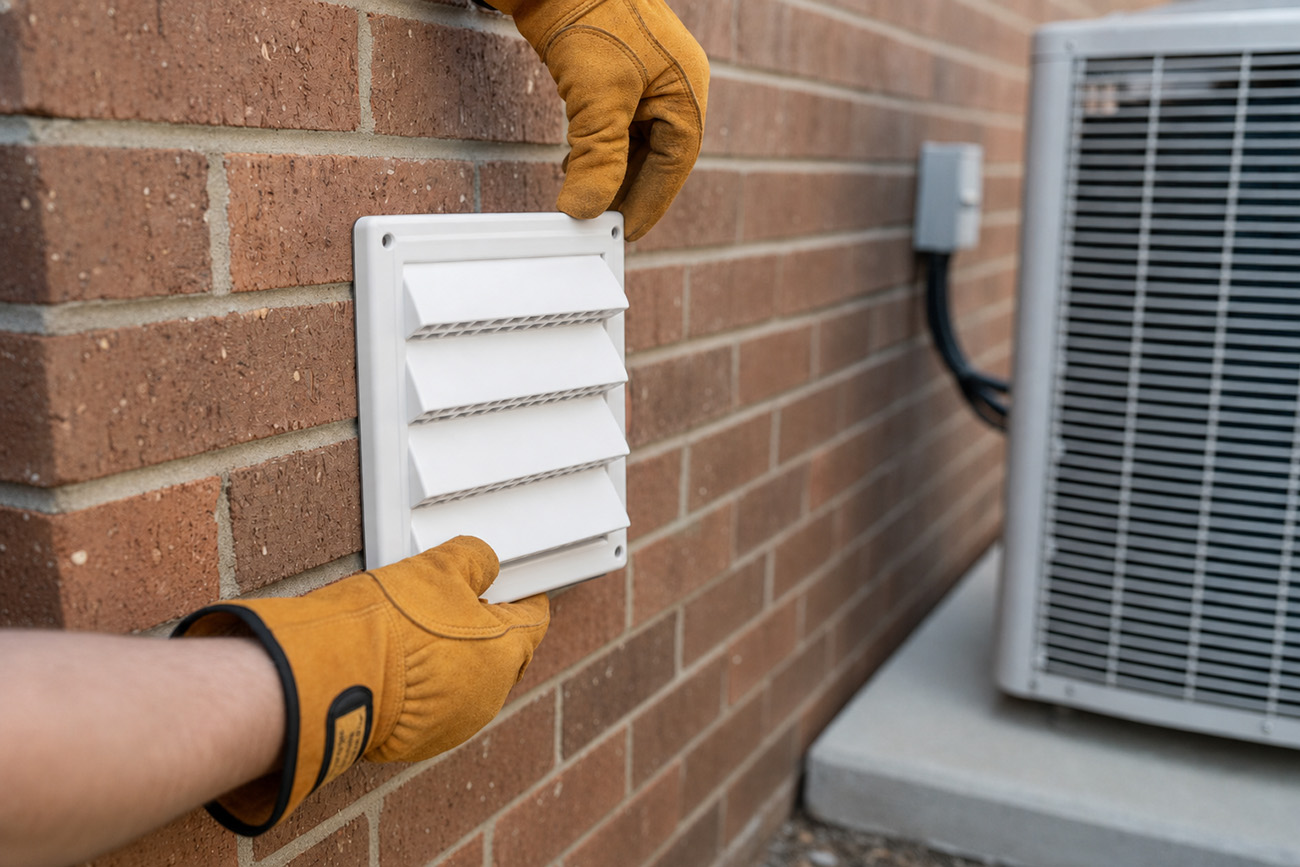
Step 2: Inspect and Clear the Outdoor Condenser Unit
Walk outside and give the unit a real look. Not a glance from the patio door. Get close.
After an Ontario winter, you’ll almost always find leaves packed between the fins, seed debris, and grime across the coil face. That grille might look fine from three feet away. Lean in and check the gaps.
Here’s what you’re looking for: bent aluminium fins, debris in the coil, plant growth within 60 cm of the unit, and drainage holes at the base. Shut off the disconnect switch near the unit first. Then grab a garden hose on a gentle setting and spray from the inside of the coil outward. Let it dry before flipping the power back on.
The HRAI (Heating, Refrigerating and Air Conditioning Institute of Canada) recommends 24 inches of clear space around the condenser. Measure it while you’re out there. Shrubs grow fast once Ontario summer kicks in.
Step 3: Clear the Condensate Drain Line
This is the step most people skip. It also causes the most callbacks we get every June.
Your AC pulls humidity from indoor air as part of cooling. That moisture collects in a drain pan and exits through a PVC pipe. Over winter, algae, mould, and dust build up inside that line. By April or May, the clog can be bad enough that when the system runs, the pan overflows. Water finds the path of least resistance: your ceiling, your walls, your basement.
I got a call from a homeowner in Mississauga a couple years ago. Beautiful finished basement, ruined drywall, all because a backed-up drain pan overflowed. Five hundred bucks in damage that could’ve been prevented with some vinegar.
Find the white PVC pipe near your air handler or furnace. Pour 250 mL of white vinegar down the access port, wait thirty minutes, flush with water. That prevents most of the condensate water damage we see every year.
Step 4: Check the Refrigerant Line Insulation
Trace the two copper lines running from your outdoor condenser into the house. The bigger one is the suction line. It should feel cold when running and be wrapped in foam insulation along its full length.
Walk every foot of it. Any sections cracked, collapsed, or missing?
An uninsulated suction line running through a hot attic or along a sun-baked wall loses efficiency every minute the system runs. The refrigerant reaches the indoor coil warmer than it should, and the compressor compensates. For accessible sections, closed-cell pipe insulation from any hardware store is a cheap fix. Lines inside walls or attic cavities are worth having a tech inspect. I’ve seen Rheem and Daikin units lose measurable efficiency from degraded insulation on a sun-exposed line.
Step 5: Test the Thermostat Properly
Set the thermostat to COOL and drop the target about four degrees below the current room temperature. Wait for two things: the indoor air handler starting up, and the outdoor compressor kicking on within a minute or two.
The fan running alone doesn’t mean the system is working. You need to hear that compressor start. After ten or fifteen minutes, hold your hand over a supply register. The air should feel noticeably cold, typically 8 to 12°C cooler than the return air. If it’s only mildly cool after that long, something upstream isn’t right. Low refrigerant, dirty evaporator coil, or a failed component. Diagnose it in May, not July.
Step 6: Check Electrical Connections — Visually Only
Turn the system off at the thermostat. Then turn off the disconnect at the outdoor unit. Only then open the disconnect box.
Look at the wiring inside. Check for burn marks, discolouration around terminals, corrosion on contactors, or rodent-chewed wire insulation. Mice nesting inside electrical enclosures is more common than people think. I once opened a unit in Burlington and found a mouse nest on top of the capacitor.
ASHRAE recommends annual electrical inspection by a licensed tech. Capacitors hold dangerous charge even after power is removed. Your job here is the visual check only. If you see burn marks or corrosion, call a tech before running the system.
Step 7: Run a Full Test Cycle Before You Actually Need It
This one sounds obvious, but most homeowners skip it. Run the system on a mild spring day when you don’t need cooling. Not on the first 35°C weekend in July when every HVAC company in the GTA has a three-day backlog.
Let it run for thirty minutes. Walk each room and check registers for airflow. Listen for anything weird: rattling, squealing, a hum that wasn’t there last September. Go outside midway through and confirm the outdoor fan is spinning and the compressor is running.
Problems caught in May are manageable. The same problem found during a heat wave is an emergency. The Reddit HVAC community has plenty of threads from homeowners who caught low refrigerant, dead capacitors, and seized fan motors on spring test runs. The problems were already there. They just chose when to find them.
Why Ontario’s Climate Makes This Matter
Ontario puts HVAC equipment through one of the tougher seasonal swings anywhere. From -25°C in January to 35°C in July, your AC doesn’t sit still in the off-season. It contracts in the cold, gets hit with road salt, and sometimes hosts rodents using the cabinet as shelter. Natural Resources Canada estimates HVAC systems account for roughly 60% of a home’s annual energy use. A unit running at reduced efficiency adds to your utility bill every day it operates.
At First Choice, we’re a Goodman Private Label Plus Dealer, meaning our customers get 5- or 10-year labour warranties most companies don’t offer. We’re Rinnai Pro certified, TSSA-certified, and we’ve been at this for over twenty years across Oakville, Mississauga, Burlington, and the GTA. Every tech on our trucks is our own. No subcontractors. We’ve earned 43 five-star Google reviews and offer 24/7 emergency calls because AC problems don’t wait for business hours. Your cooling system is one of the most expensive systems in your home. A spring maintenance routine is the simplest way to protect it.
Frequently Asked Questions
How often should I get my AC professionally serviced in Ontario?
Once a year, in spring. A licensed tech will check refrigerant levels, test capacitors and contactors, clean the evaporator coil, and inspect the condensate system. Those steps go beyond what homeowners can safely do without specialized tools.
Can I handle this maintenance myself?
Several steps are safe to do on your own: swapping the filter, clearing debris from the outdoor unit, flushing the condensate drain with vinegar, and running a test cycle. Anything involving refrigerant requires TSSA certification in Ontario. It’s the law, not a suggestion. Electrical component testing also belongs in the “call a tech” bucket.
My AC worked fine last summer. Does it still need a spring check?
It worked under last summer’s conditions. A weak capacitor in August can degrade further over a cold winter. A clear condensate drain in October can grow enough buildup by April to cause a backup. “It worked last year” is the most common thing I hear before a breakdown call.
How do I know if my AC is low on refrigerant?
Watch for longer run times before hitting your set temperature, ice forming on the refrigerant lines or indoor coil, and supply air that feels only mildly cool after fifteen minutes. Low refrigerant almost always means there’s a leak. Topping it off without sealing that leak is a temporary fix that’ll repeat within one cooling season.
What should a professional spring tune-up cost in the GTA?
Expect to pay $100 to $200 for a thorough inspection and tune-up. That covers a full system check, refrigerant verification, electrical testing, condensate cleaning, and a written summary. Compare that to a capacitor replacement ($200–$400), condensate-related ceiling repair ($500+), or a compressor job ($1,200–$2,500). Spring maintenance is cheap insurance.
Call First Choice at 905-334-7885, or request a free quote online. Available Monday to Saturday, 8 AM to 6 PM, and 24/7 for emergencies. If your system checks out fine, we’ll tell you straight. No upselling.
About Tony Marchetti
Tony Marchetti is a TSSA-certified HVAC technician with over 20 years of experience in the Greater Toronto Area. As a senior technician at First Choice Heating & Air Conditioning, he specializes in furnace and air conditioner installations across Oakville, Mississauga, and Burlington. He holds Rinnai Pro and Goodman Private Label Plus dealer certifications.
Why Choose Us
We are leading HVAC company in GTA, specializing in the sales, installation, maintenance, and repairs of all HVAC units.